- You have no items on your shopping cart
- Continue Shopping

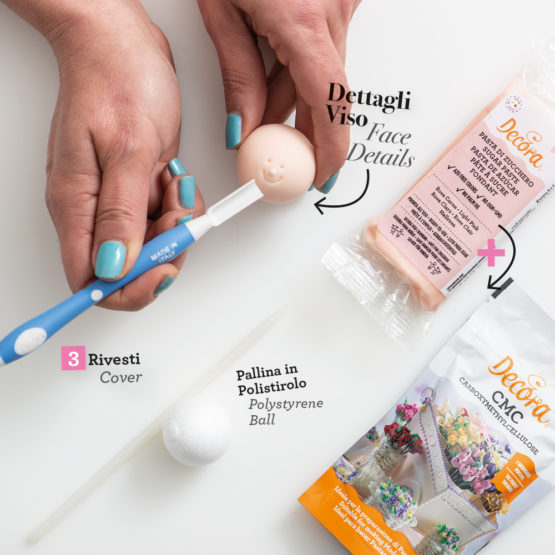
Ingredients
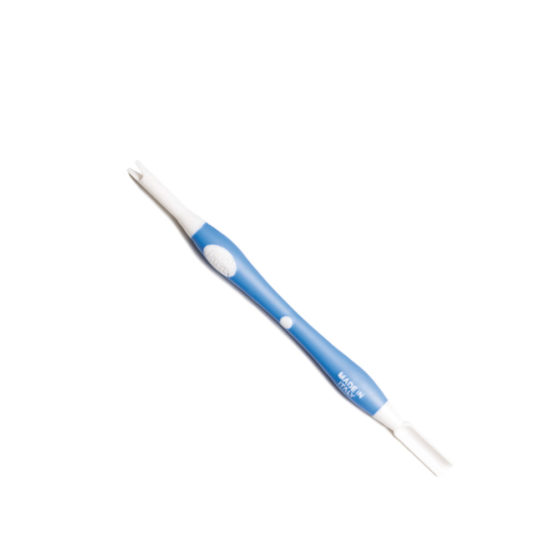
Products


Step 1

Mix well with the heat of the hands a little gum paste and create 3 small cones. With food glue, attach the cones obtained to the iron wire n ° 20. Leave to dry for at least 1 day. Take the pistils, fold them and secure them together with the flower ribbon. Repeat the operation until you get 6; Always fasten them together using the special flower tape to create the center.
Step 2

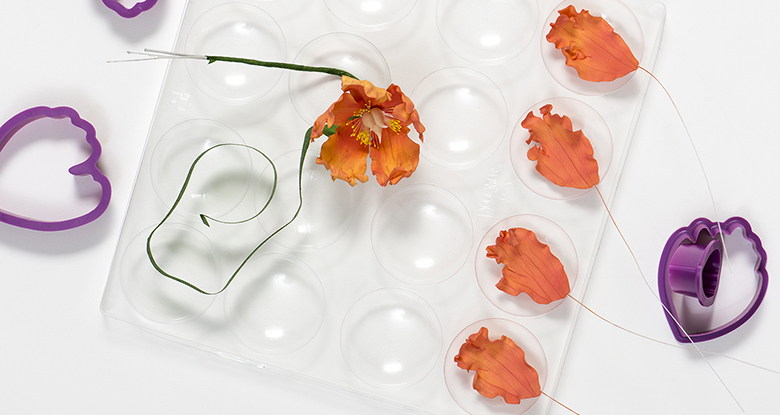
Color the gum paste with the yellow coloring gel. Take some pasta and create a small ball, roll it out with a rolling pin over the special channel on the work surface for flowers; in this way you will already have the space to insert the wire. Lift the dough, move it and cut the petal with the cutter; in this way it will be easier to position the cutter so that the channel is perfectly in the center. Gently insert the underwire No. 26.
Step 3

Insert the petal in the veiner placing under the opaque part and above the transparent one so that it coincides with the front of the petal. Apply light pressure. Remove the petal, place it on the rigid sponge and curl the edges with the ball tool.
Step 4

Repeat the same steps to create the other petals (5 for each measure) and let them dry for at least a day in the petal dryer.
Step 5

Put some yellow and coral colored powder in the appropriate palette. With the brush, color the petals dry with the yellow powder and make a second pass with the coral one, blending as you like.
Step 6

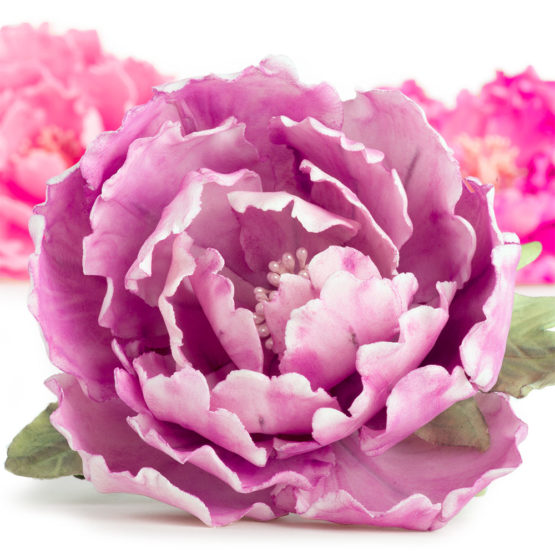
Proceed with the assembly of the Peony. Fold the underwire into an "L" shape. Take the center, secure it with some flower tape and continue attaching the first petal. Proceed in the same way one petal at a time.
Step 7
Continue by completing the first round which will consist of the 5 smallest petals.
Step 8

After the first round, continue attaching the petals of the second round.
Step 9

Proceed gradually until all the petals are assembled.
Step 10

Now make the leaf with the same technique illustrated for the petals.
Step 11
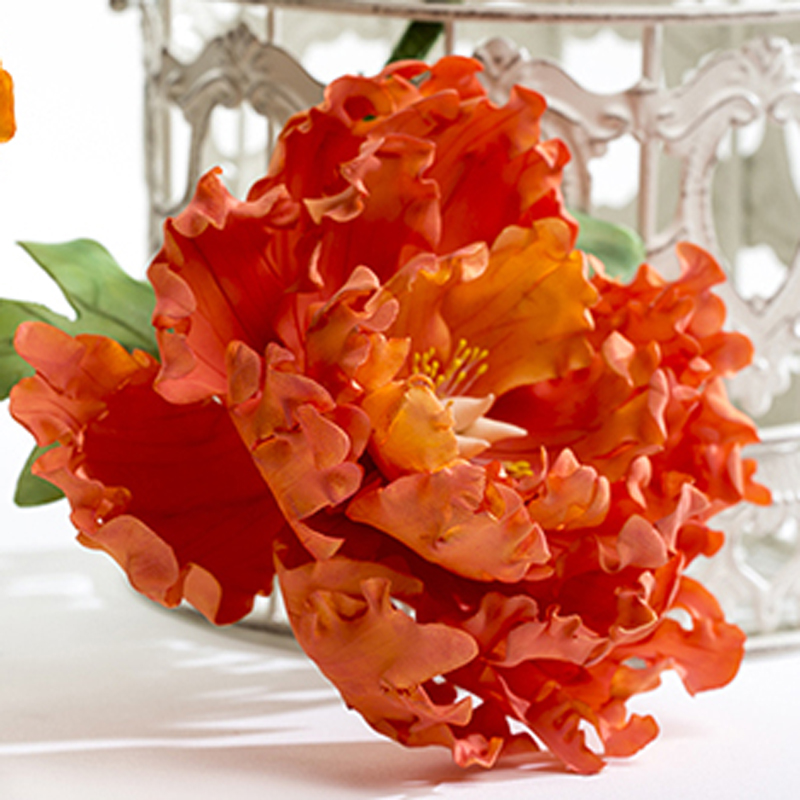
Have fun making flowers with different colors and shades.
